
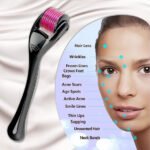


Derma Roller – Smoothen Skin & Reduce Fine Lines
₨ 850 Original price was: ₨ 850.₨ 399Current price is: ₨ 399.
Derma Roller – Smoothen Skin & Reduce Fine Lines
You may be wondering, “How in the world is inserting hundreds of little needles into your face relaxing? And why would anyone want to do that?” It sounds crazy, but microneedling has a ton of benefits, including:
- reduced wrinkles and stretch marks
- reduced acne scarring and skin discoloration
- increased skin thickness
- facial rejuvenation
- enhanced product absorption
For anyone who’s looking for a way to tackle these concerns at home, microneedling might be your answer. Here’s what you need to know about this miraculous process.
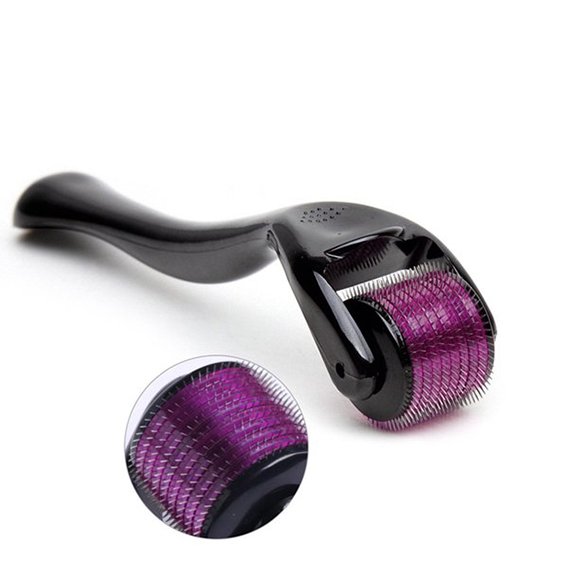
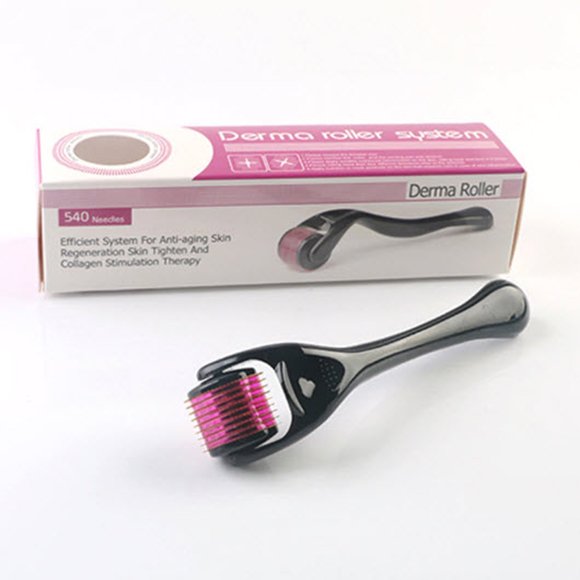
Microneedling, often referred to as dermarolling or collagen induction therapy, is a cosmetic procedure in which thousands of tiny little needles are inserted into the surface of skin via a rolling or stamping device.
Dermarolling works by creating microscopic wounds which induce collagen and elastin production. If you didn’t know, collagen is the most abundant protein found in the human body and is responsible for holding together connective tissue like skin, muscles, tendons, cartilage, and bones.
This lovely protein is also what keeps us looking young and gorgeous. Unfortunately, it’s believed that collagen production slows down by about 1 percent per year after the age of 20, which translates to the big A word — aging.
Despite how terrifying dermarolling may seem, it’s actually considered a minimally invasive procedure with little to no downtime. However, the recovery process does depend largely on the length of the needles used. Obviously, the longer the needles, the deeper the wound — and that means the longer the recovery time.
How to use a derma roller
Follow these steps precisely to avoid any hazards and unwanted infections.
Step 1: Disinfect your roller
Disinfect your derma roller by letting it soak in 70 percent isopropyl alcoholTrusted Source for approximately 5 to 10 minutes.
Step 2: Wash your face
Thoroughly cleanse your face using a gentle pH-balanced cleanser. If you’re using a derma roller with needles longer than 0.5 mm, you’ll also need to wipe down your face with 70 percent isopropyl alcohol before the rolling process.
Step 3: Begin derma rolling
The technique is very important, so listen closely! Splitting up your face into sections makes the whole process easier. Here’s a visual of what that looks like:
Step 4: Wash your face with water
After you’re done microneedling, rinse your face with water only.
Step 5: Clean your derma roller
Clean your derma roller with dishwasher soap. Create a soapy water mix in a plastic container, then swish around the roller vigorously, making sure the roller doesn’t hit the sides. The reason we use detergents like dish soap directly after rolling is because alcohol doesn’t dissolve the proteins found in skin and blood.
Step 6: Disinfect your roller
Disinfect your derma roller again by letting it soak in the 70 percent isopropyl alcohol for 10 minutes. Put it back in its case, give it a kiss, and store it somewhere safe.
Step 7: Continue your basic skin care routine
Follow up derma rolling with a basic skin care routine. That means no chemical exfoliates or active ingredients like benzoyl peroxide, salicylic acid, tretinoin, etc..


Related products
Air 31 TWS Wireless Earbuds
Early Education Learning Device |Talking Toy Flash Card For Kids Language 224 Words
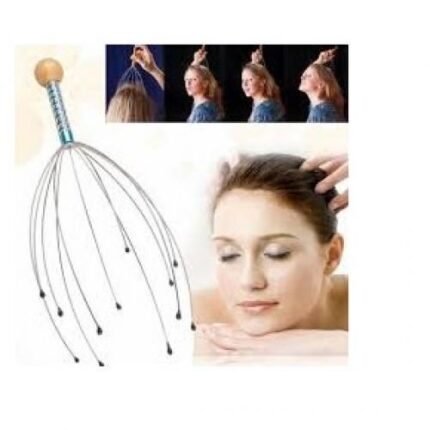
Head Massage Tool_Manual
HGKJ-11 Car Paint Scratch Repair Remover Agent Coating Maintenance Accessories
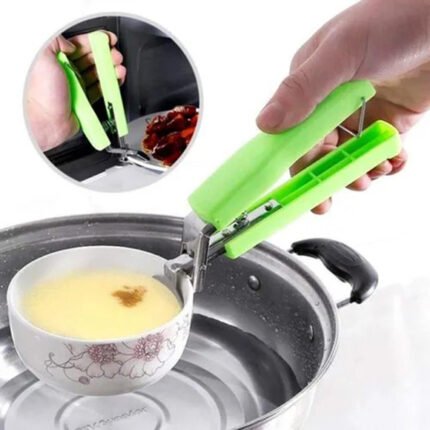
Hot Pot Holder Carrier
- The kitchen good helper.
- Great for take a very hot dish, plate or bowl from container, such as from electric cooker.
- Home Kitchen Portable Stainless Steel Retriever Handle Arm Tongs Clip Gropper steam Hot microwave Pot Pan Exquisite Bowl Plate Holder Clamp Kitchen Holder Tool Scalding Gadgets Handheld Anti-Slipplier clip
- Anti-Scald Plate Take Bowl Dish Cookware Tableware
- Durable: Strong ABS plastic handle and anti-skid.
- Lightweight: About 126g weight, Portable and easy to carry.
- Feel comfortable, flexible operation. Simple one-handed use.
- Stainless steel tong head with silicone, rust resistant, and heavy bearing capacity. Scald proof, anti-corrision, healthy and durable.












Reviews
There are no reviews yet.